The Smartest Way to Uninstall Programs
Completely remove unwanted software and all its traces. Monitor installations, clean leftovers, and keep your Windows PC running smooth.

-
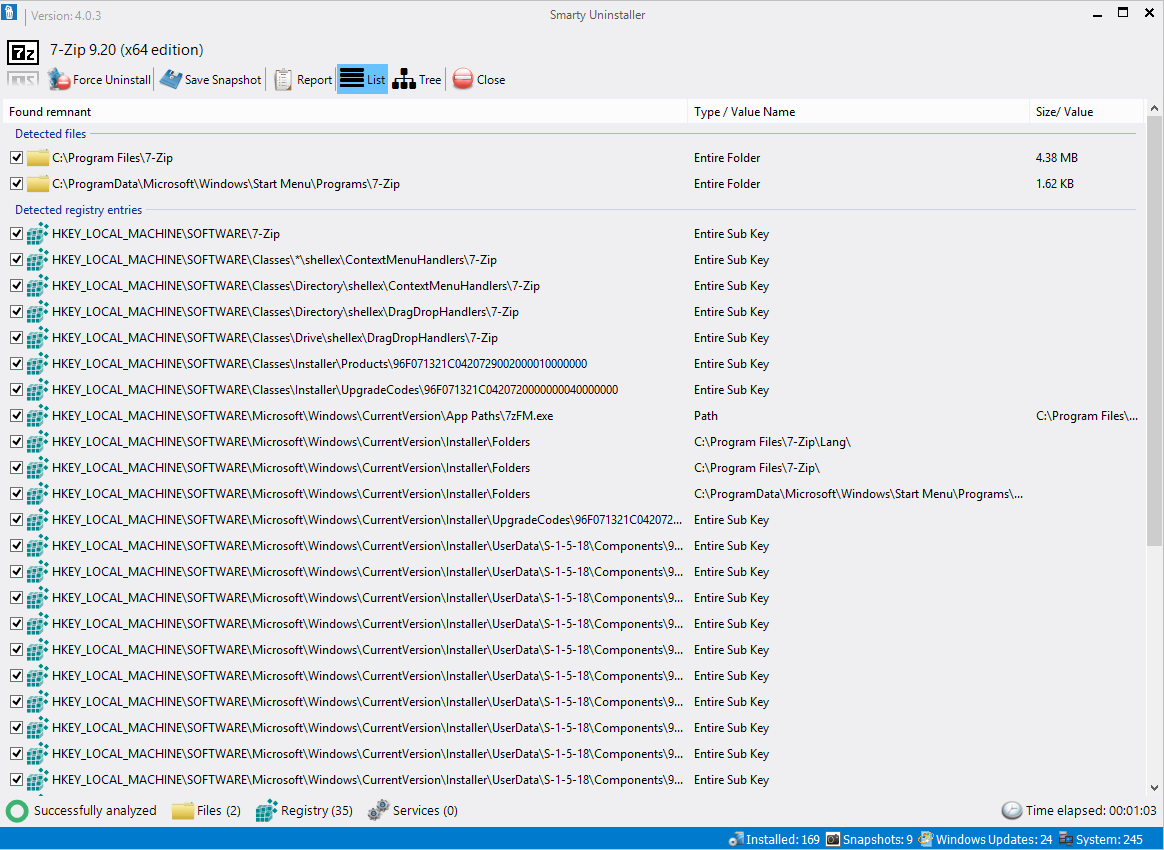
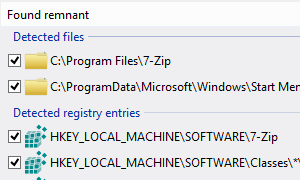
Ensures Complete Uninstall
Smarty Uninstaller makes it easy to completely remove programs from your system. It keeps an eye on the built-in application uninstaller and uses an advanced scan engine to clean up any leftover files from the programs. You can also manually use the intelligent scan engine to uninstall a program, especially if its uninstaller is not working properly.
-
Detects Changes to Your System
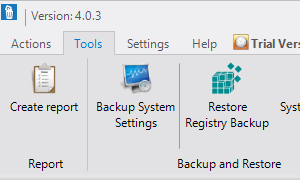
In addition to the smart scan engine, Smarty Uninstaller offers an easy-to-use, yet effective feature called "Smarty Snapshot." This feature enables you to monitor the installation of new programs and track every change made to your system during the installation process. The changes are saved to the snapshot, allowing you to review them later.
-
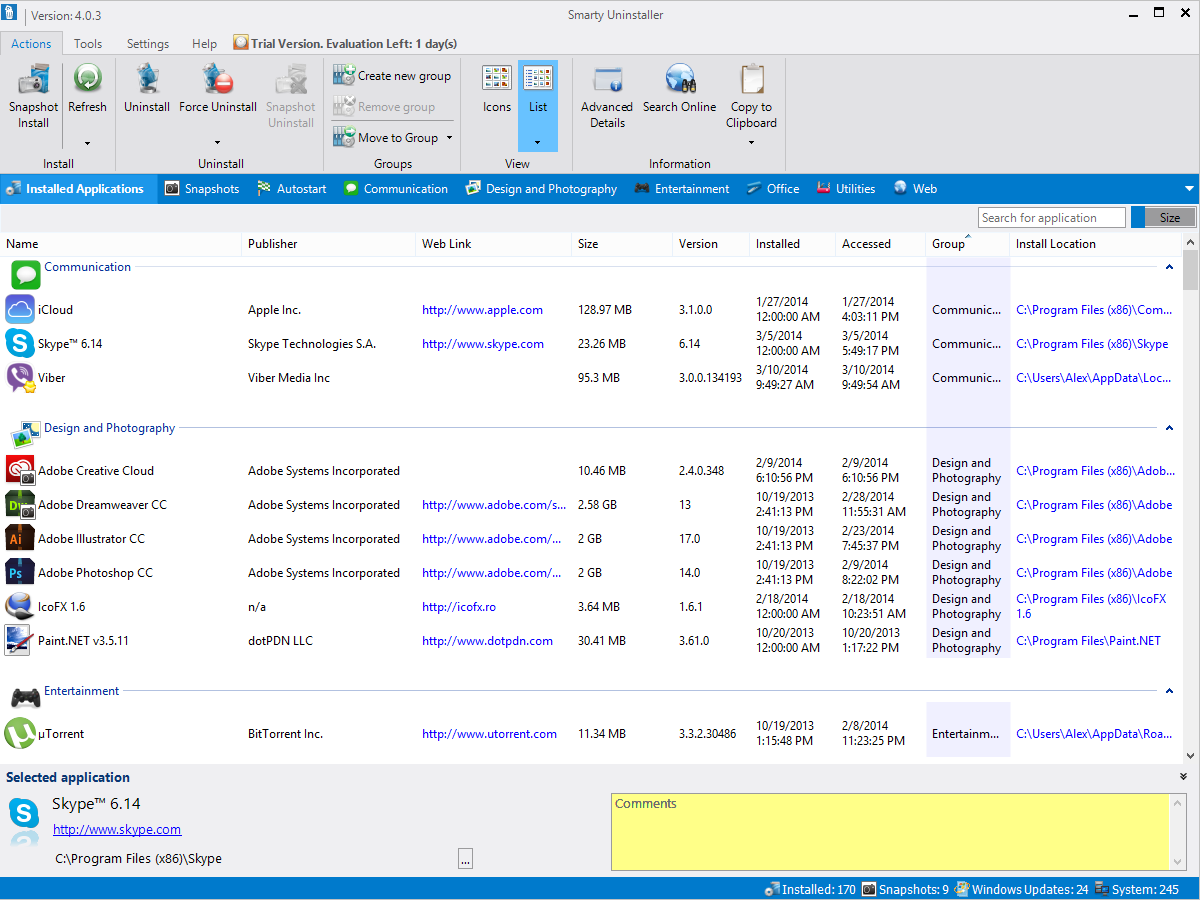
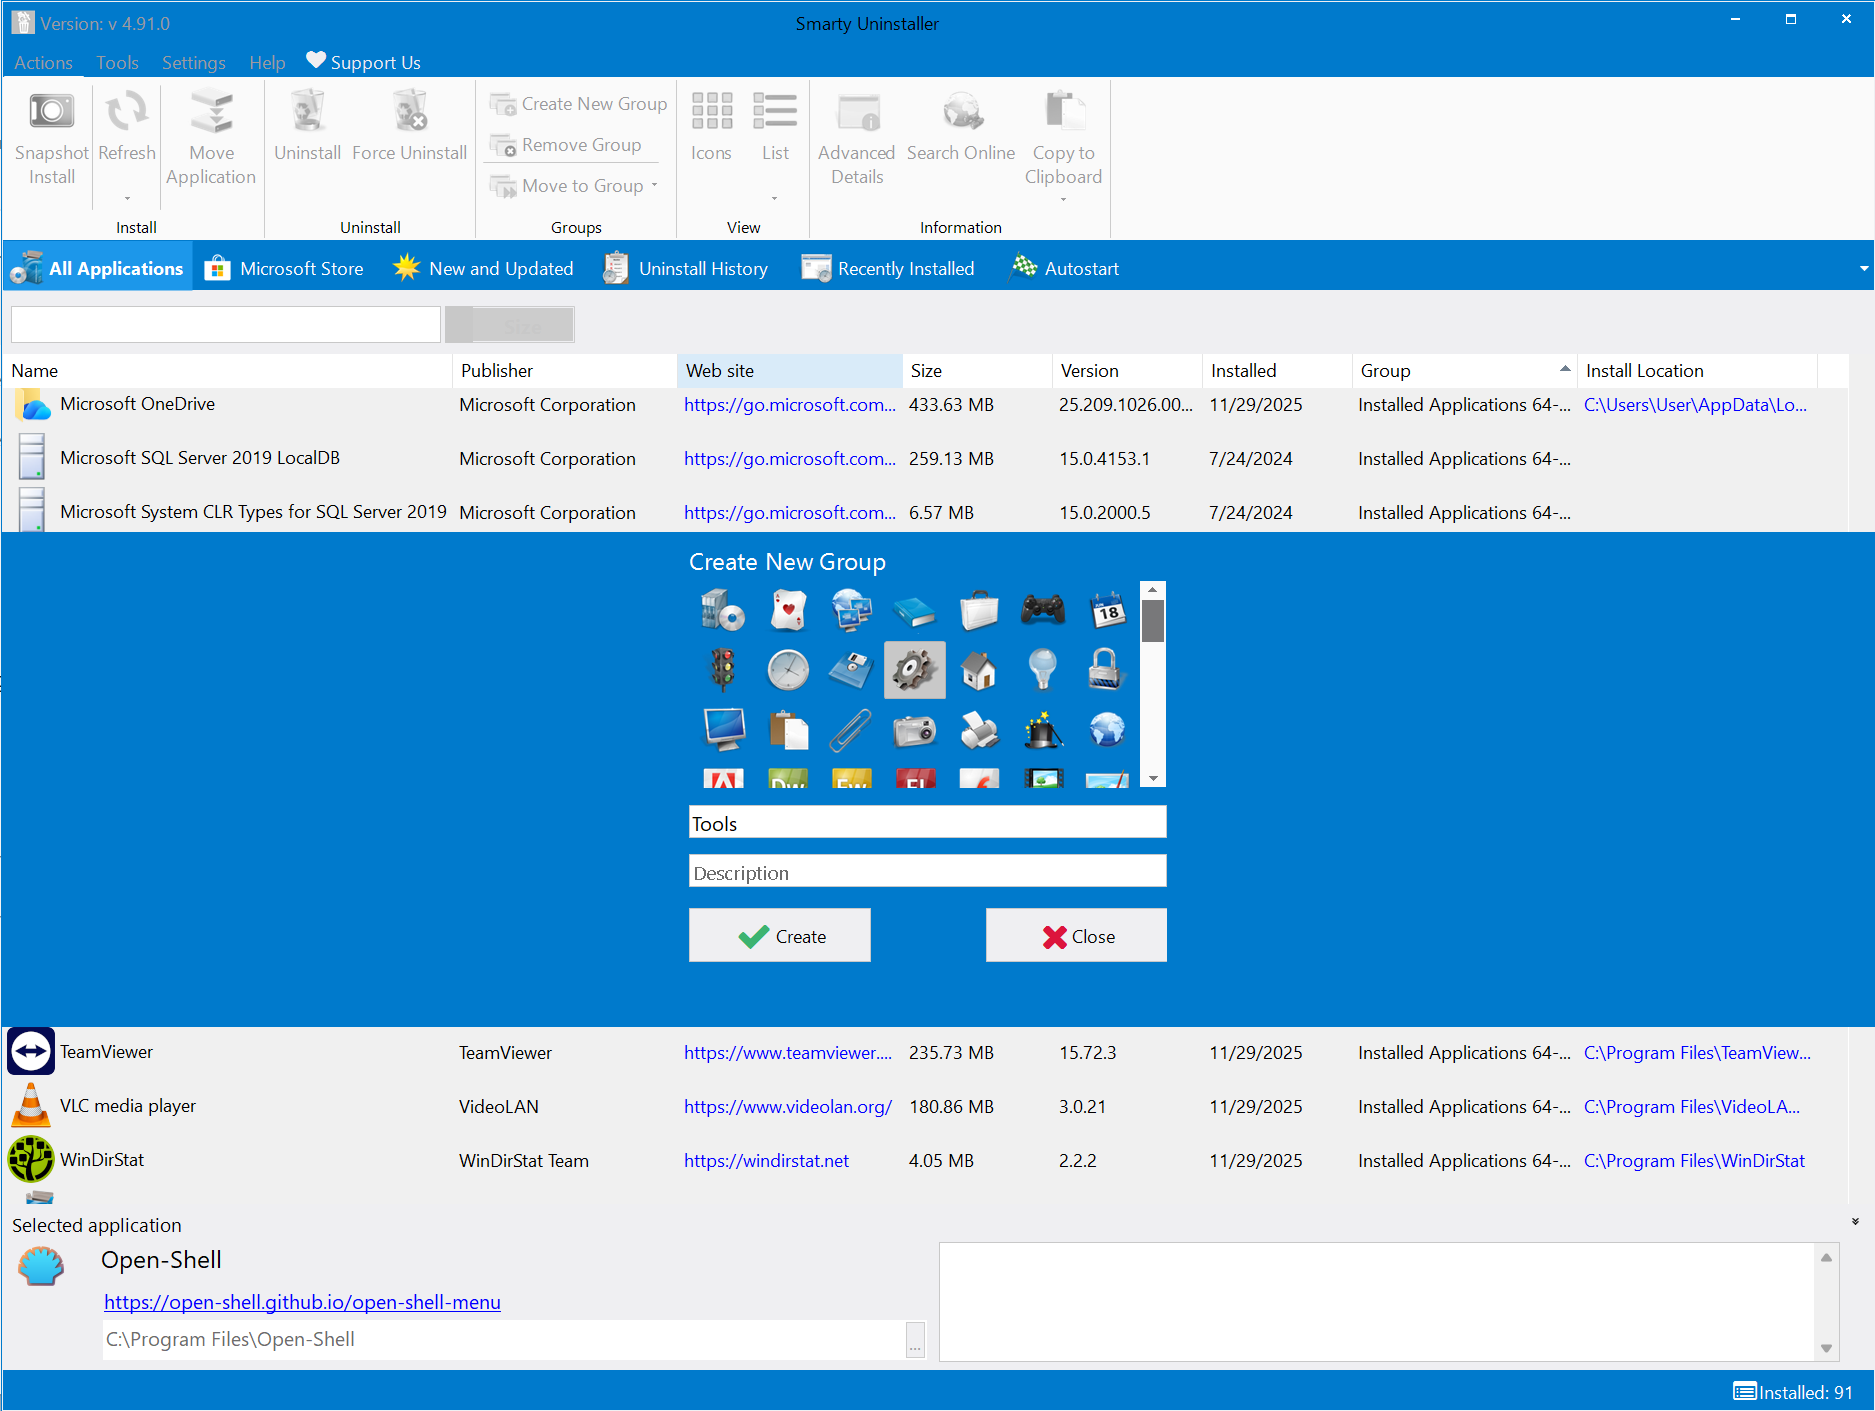
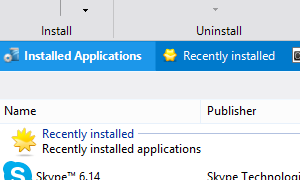
Easily Manage Programs
With the grouping feature, you can organize your programs into logical groups and view them in separate tabs. It also allows you to add comments to your installed programs, which will be displayed on the main window when you select a program.
-
Intuitive and Modern Interface
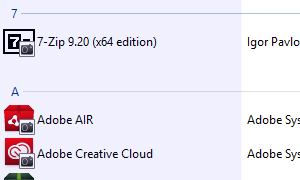
With its modern and user-friendly interface, Smarty Uninstaller conveniently showcases all your installed software in the main window, making it easy to search, sort, and more.

-
Fully Compatible
Smarty Uninstaller has been developed and thoroughly tested to work seamlessly on Windows 11 and other Windows operating systems, including Windows 7 and newer versions.

-

Complete Uninstall
-

Detects Leftovers
-

Manage Programs
-

Modern Interface
-

Fully Compatible
Everything You Need to Keep Your PC Clean
Powerful tools designed to give you complete control over your installed software.
We've Earned a Few Badges Along the Way